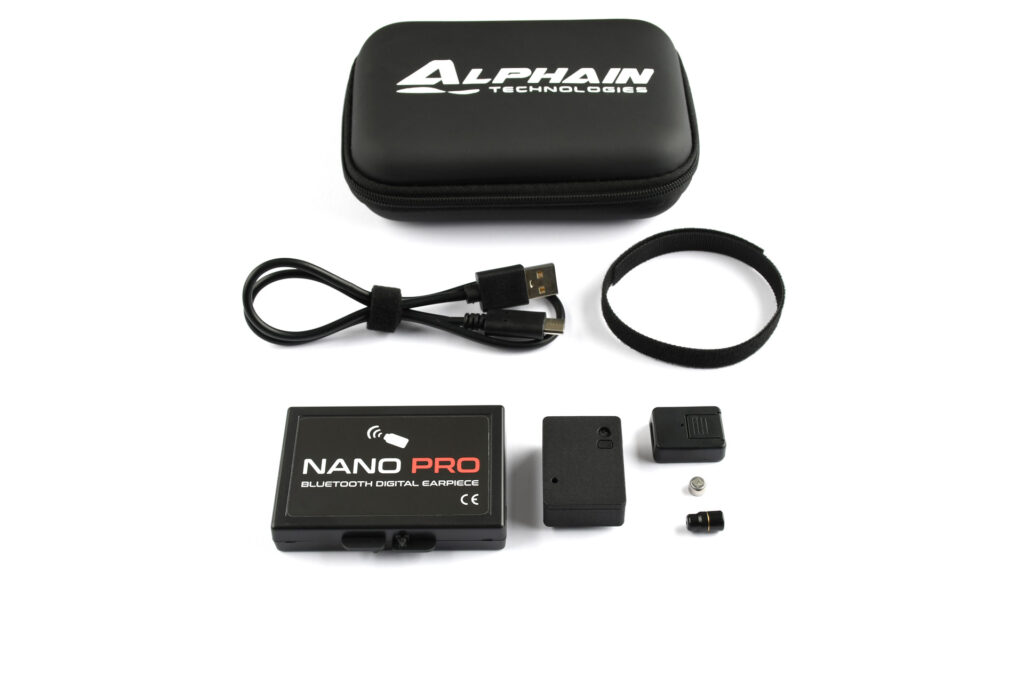
NANO PRO DIGITAL BLUETOOTH EARPIECE
Video Instructions
How to start
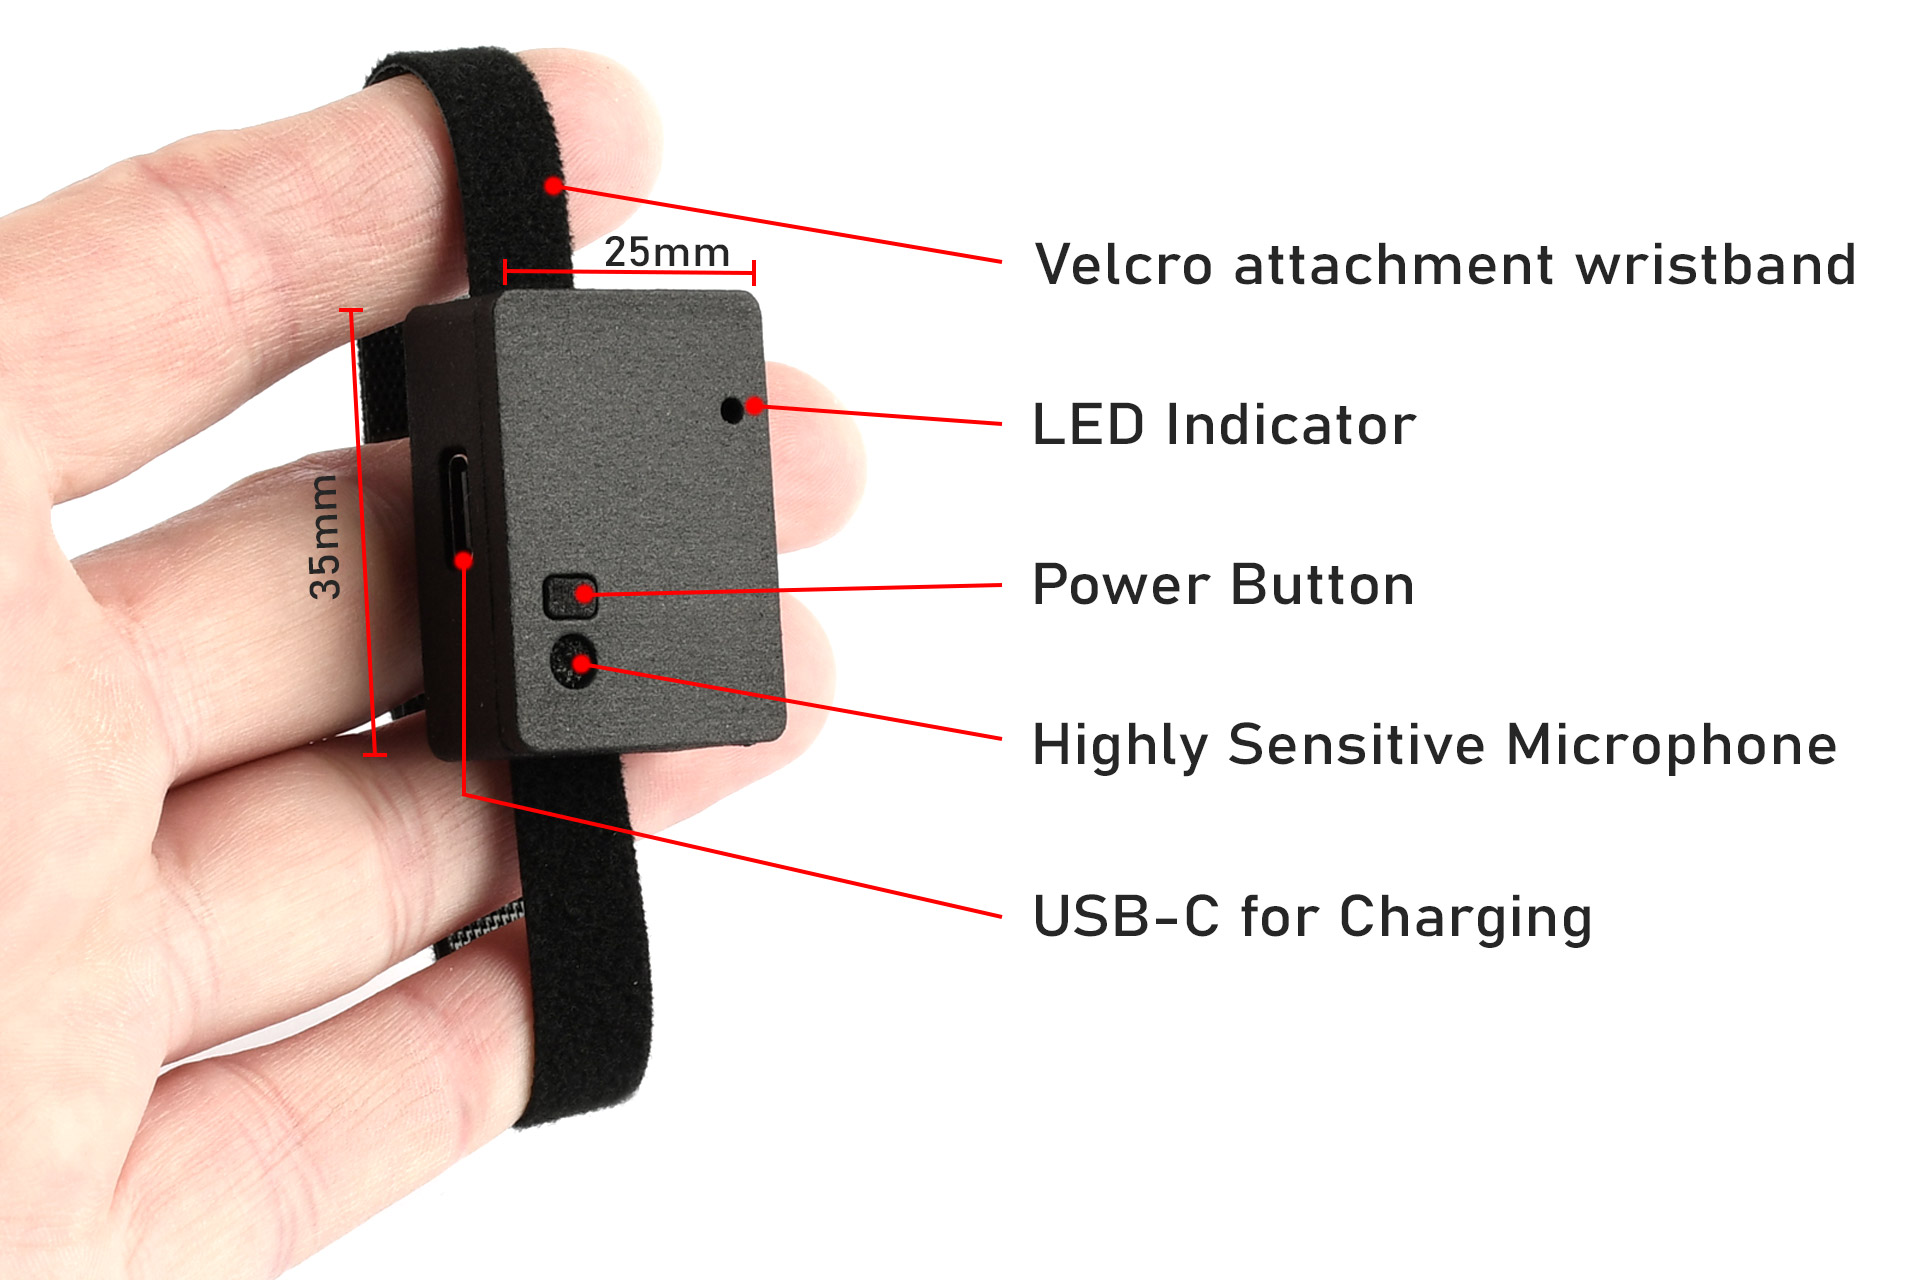
1. Connect the Microphone
Remove the battery from your NANO PRO EARPIECE.
When used for the first time or after a longer period charge-up the small earpiece battery & wireless microphone before continuing. See Charging.
Next Turn-on the Microphone by pressing the Power Button. The blue light will begin to blink.
To use the Microphone with the NANO PRO EARPIECE the Microphone must be paired first to your mobile phone. Not doing that will result in the Microphone not working properly.
The Microphone is optional. If you do not need to use the Microphone continue to STEP 3 to place the battery into your NANO PRO Earpiece, and then connect to it as described in STEP 2.
The Power Button on the Microphone can be used to answer or end a call.
Do not cut the small string from the side of the NANO PRO Earpiece. This string functions as an antenna and an extraction aid to more easily remove the Earpiece.
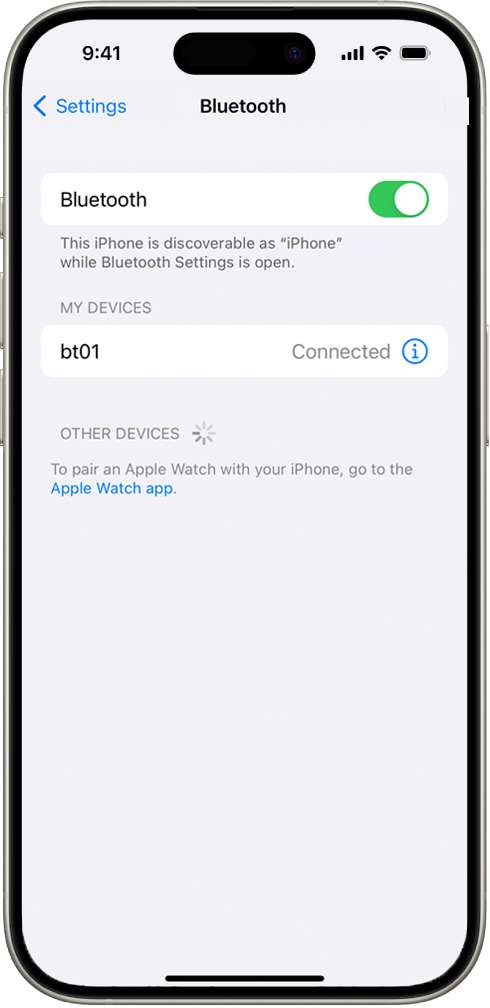
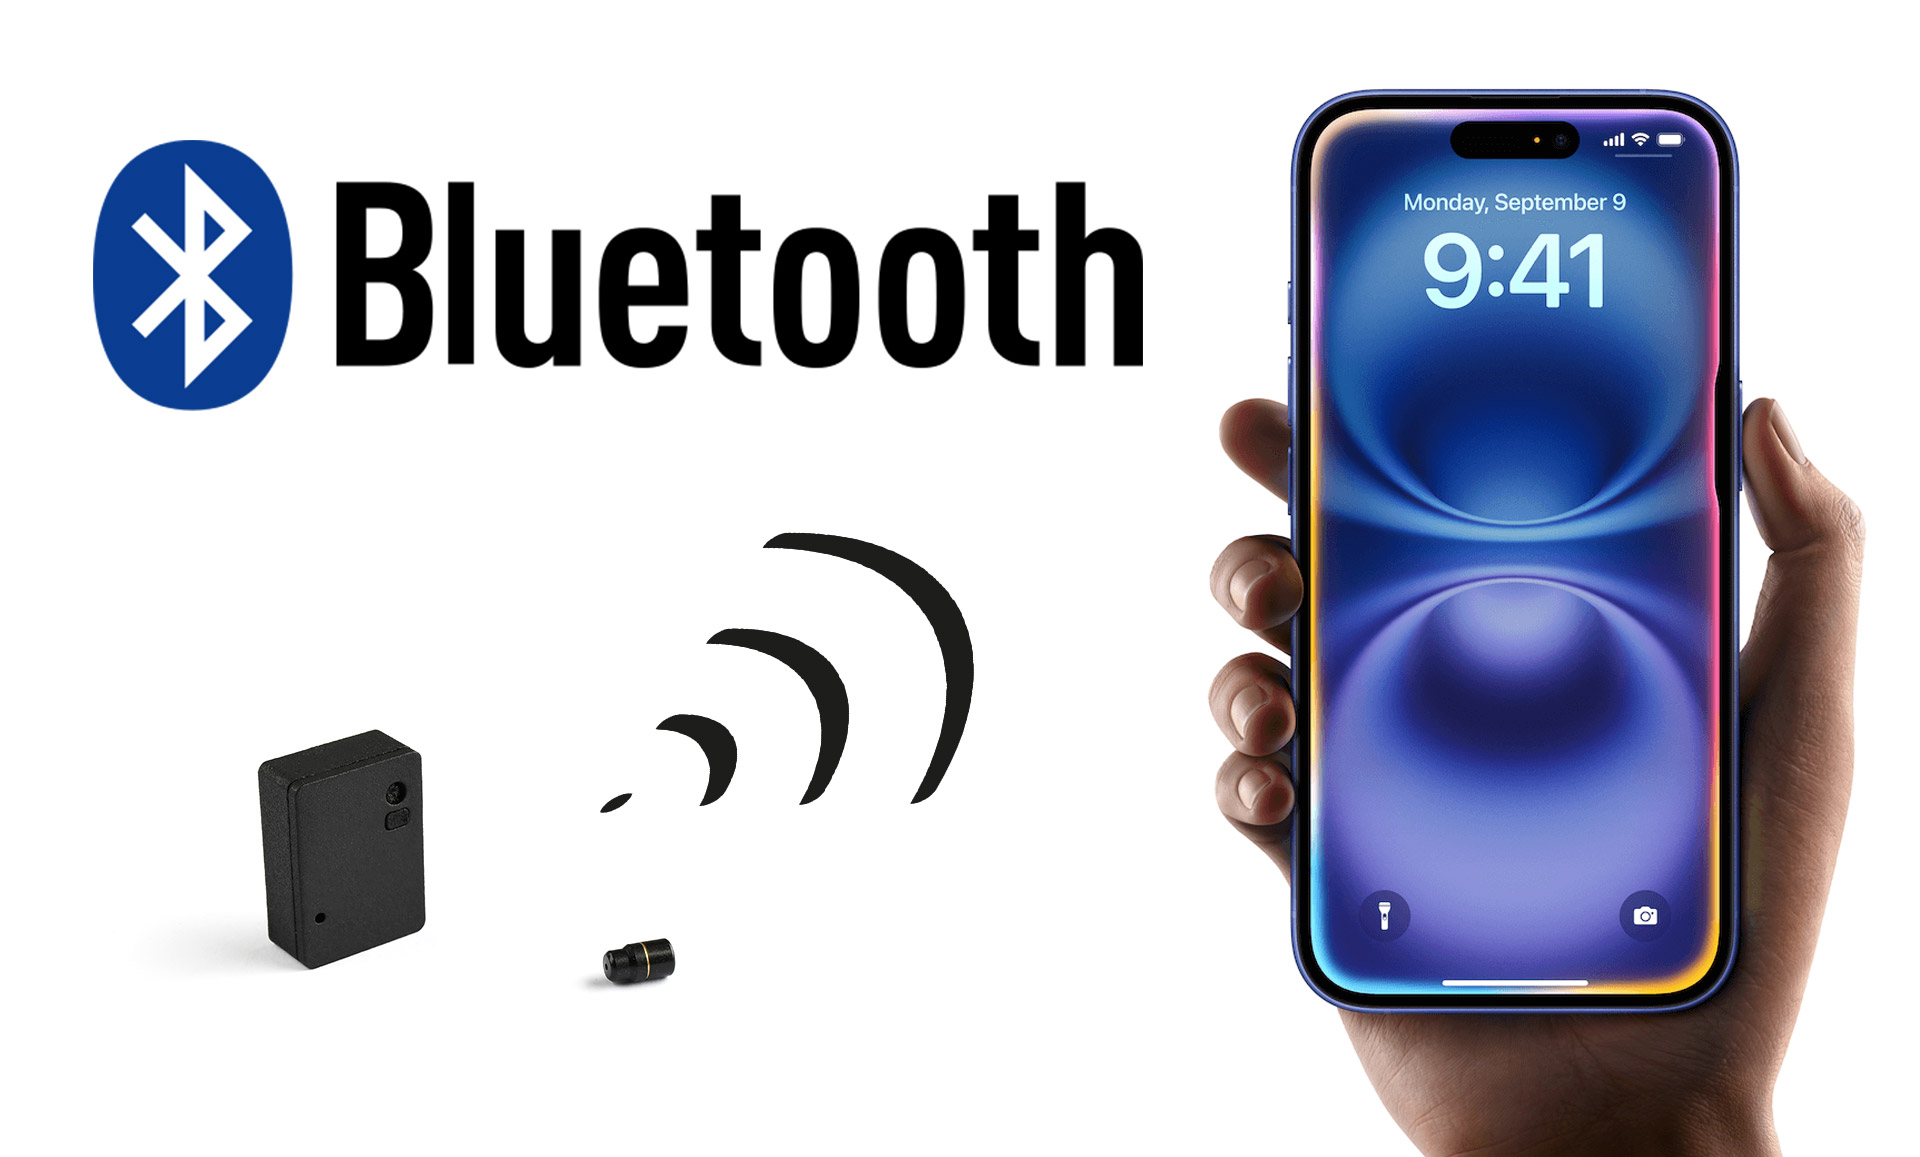
2. Connect Microphone with Bluetooth
Now connect your Microphone with your mobile phone using Bluetooth.
Enable Bluetooth then Tap bt01 on the list of devices
Your mobile phone will automatically pair with your Microphone.
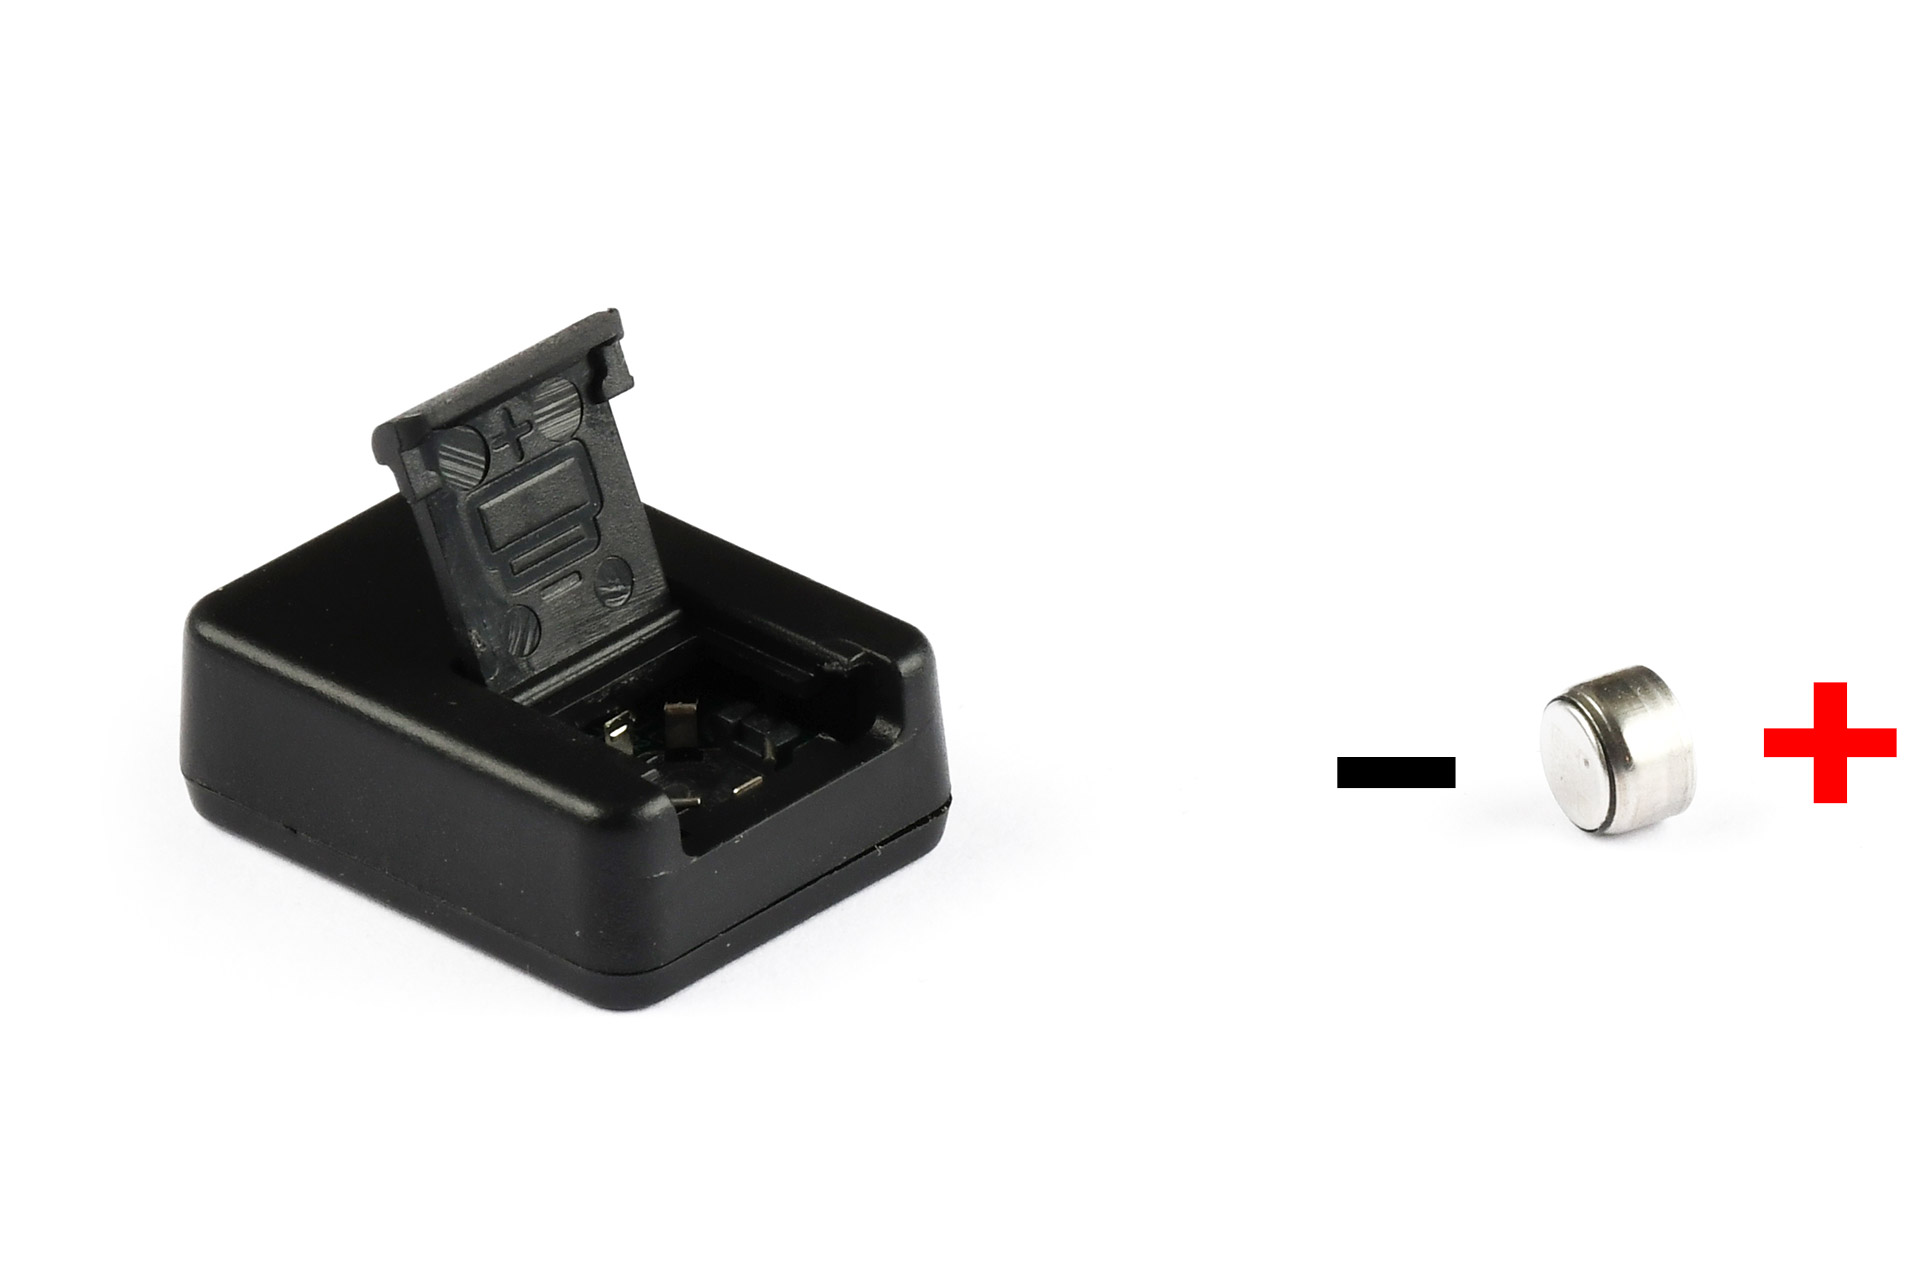
3. Place battery into your NANO PRO EARPIECE
Take note to orient the battery the proper way. Then screw the battery cap back on in clock-wise direction using a gentle motion. Once the cap is properly seated continue to screw it to the end. If the cap doesn’t seat right away try rotating it the opposite way until it does.
Upon purchasing the product the battery can be found in the battery compartment of the battery charger.
Once the battery is fitted the blue light on the Microphone will stop flashing. This means the NANO PRO EARPIECE and Microphone are now successfully paired to your mobile phone.

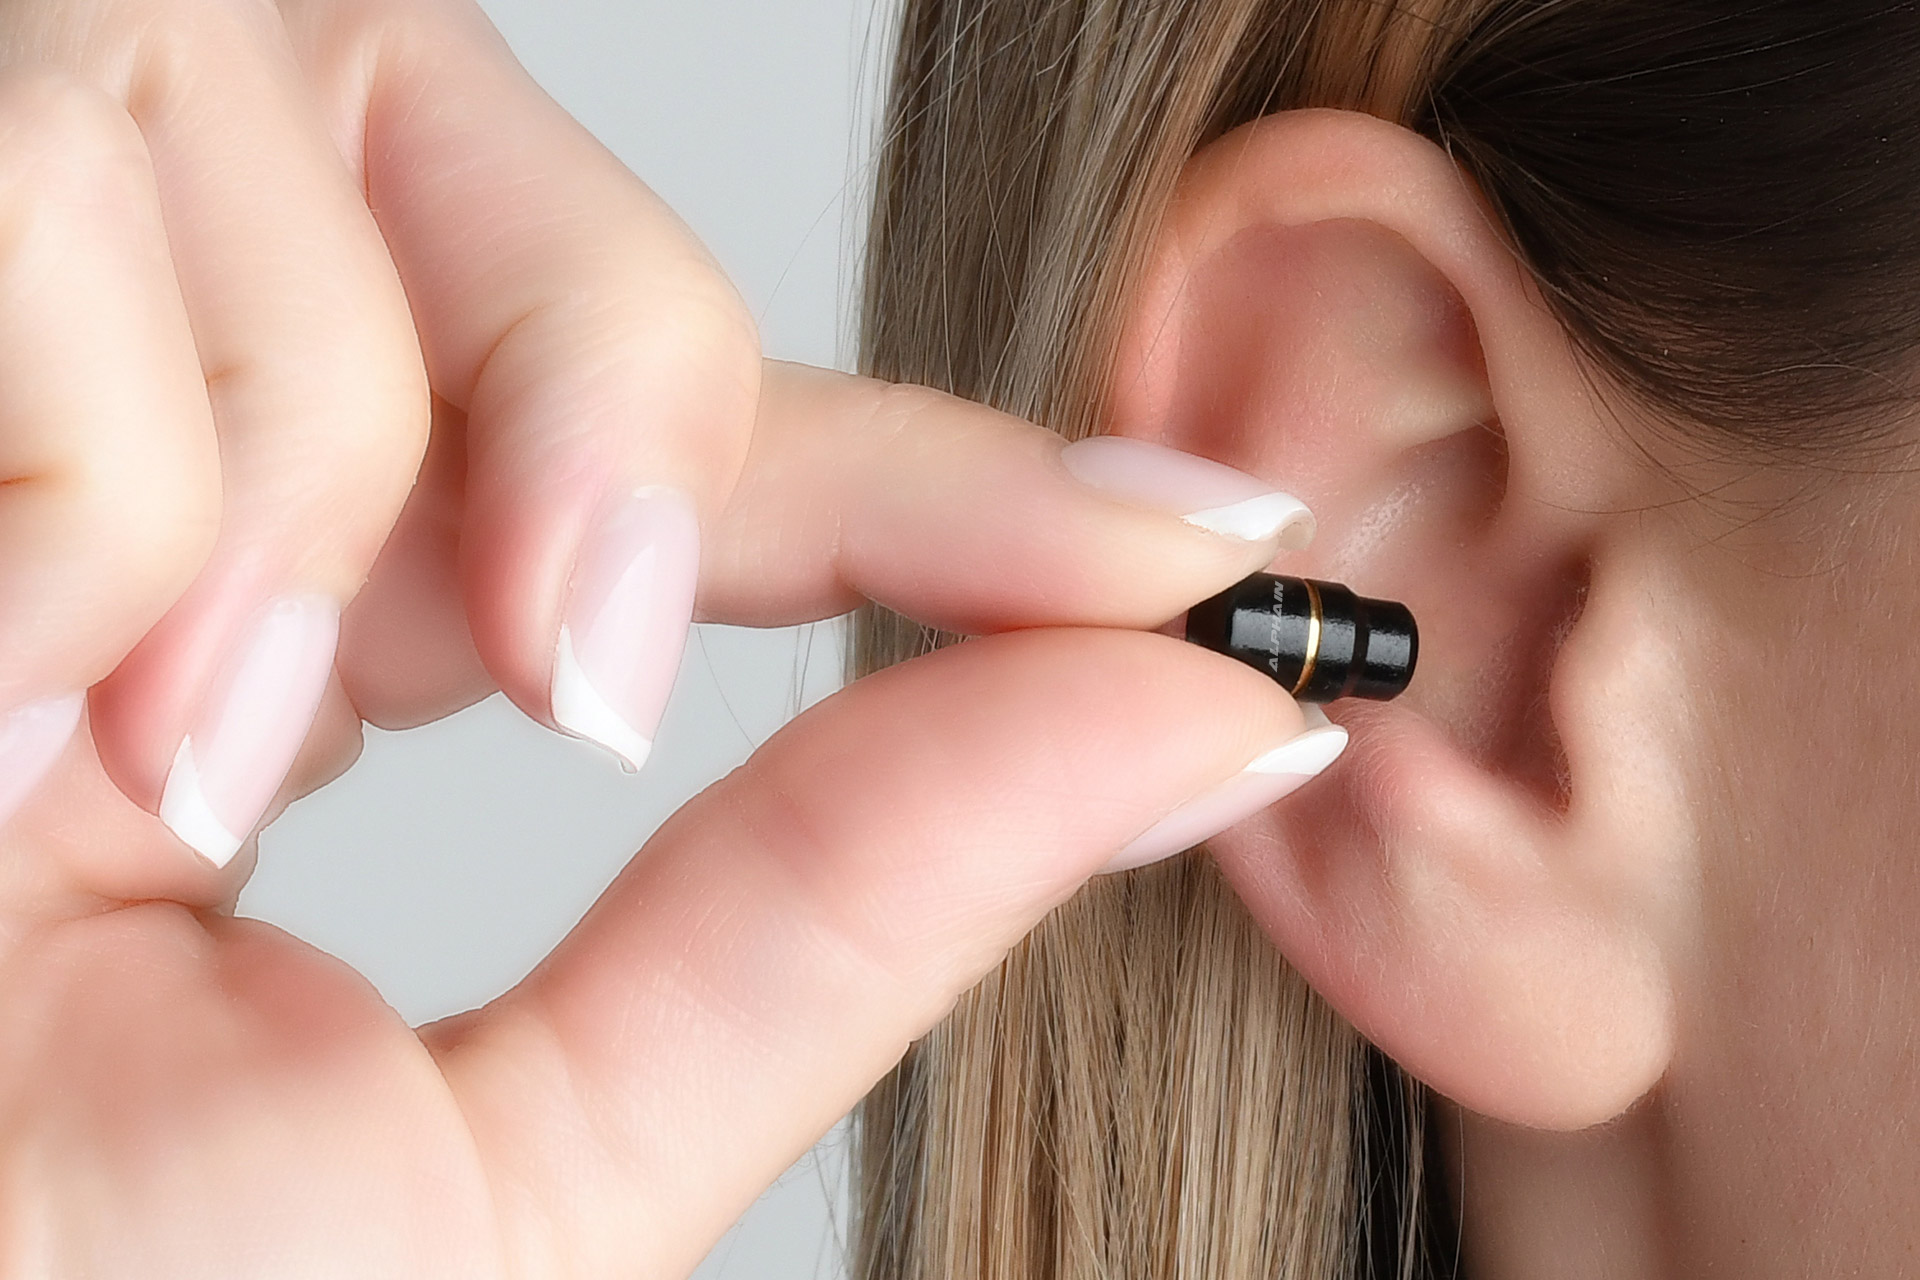
4. Fit into your ear
Gently fit your NANO PRO EARPIECE into your ear.
To aid fitting, gently pull down on your ear-lobe to help the earpiece more easily slide into your ear.
Remember to never use force it is not necessary.
5. Call or Listen to Music or Videos
Call-up someone or open your favourite music app or watch videos. You’ll now be able to hear and communicate through your NANO PRO EARPIECE.
Adjust the volume on your mobile phone to adjust the volume in your NANO PRO EARPIECE.
The higher the volume the shorter the battery-life of the NANO PRO EARPIECE will be. Adjust the volume to a comfortable level suitable to your surroundings to maximize battery-life.
6. Charging
After use be sure to charge-up your depleted batteries.
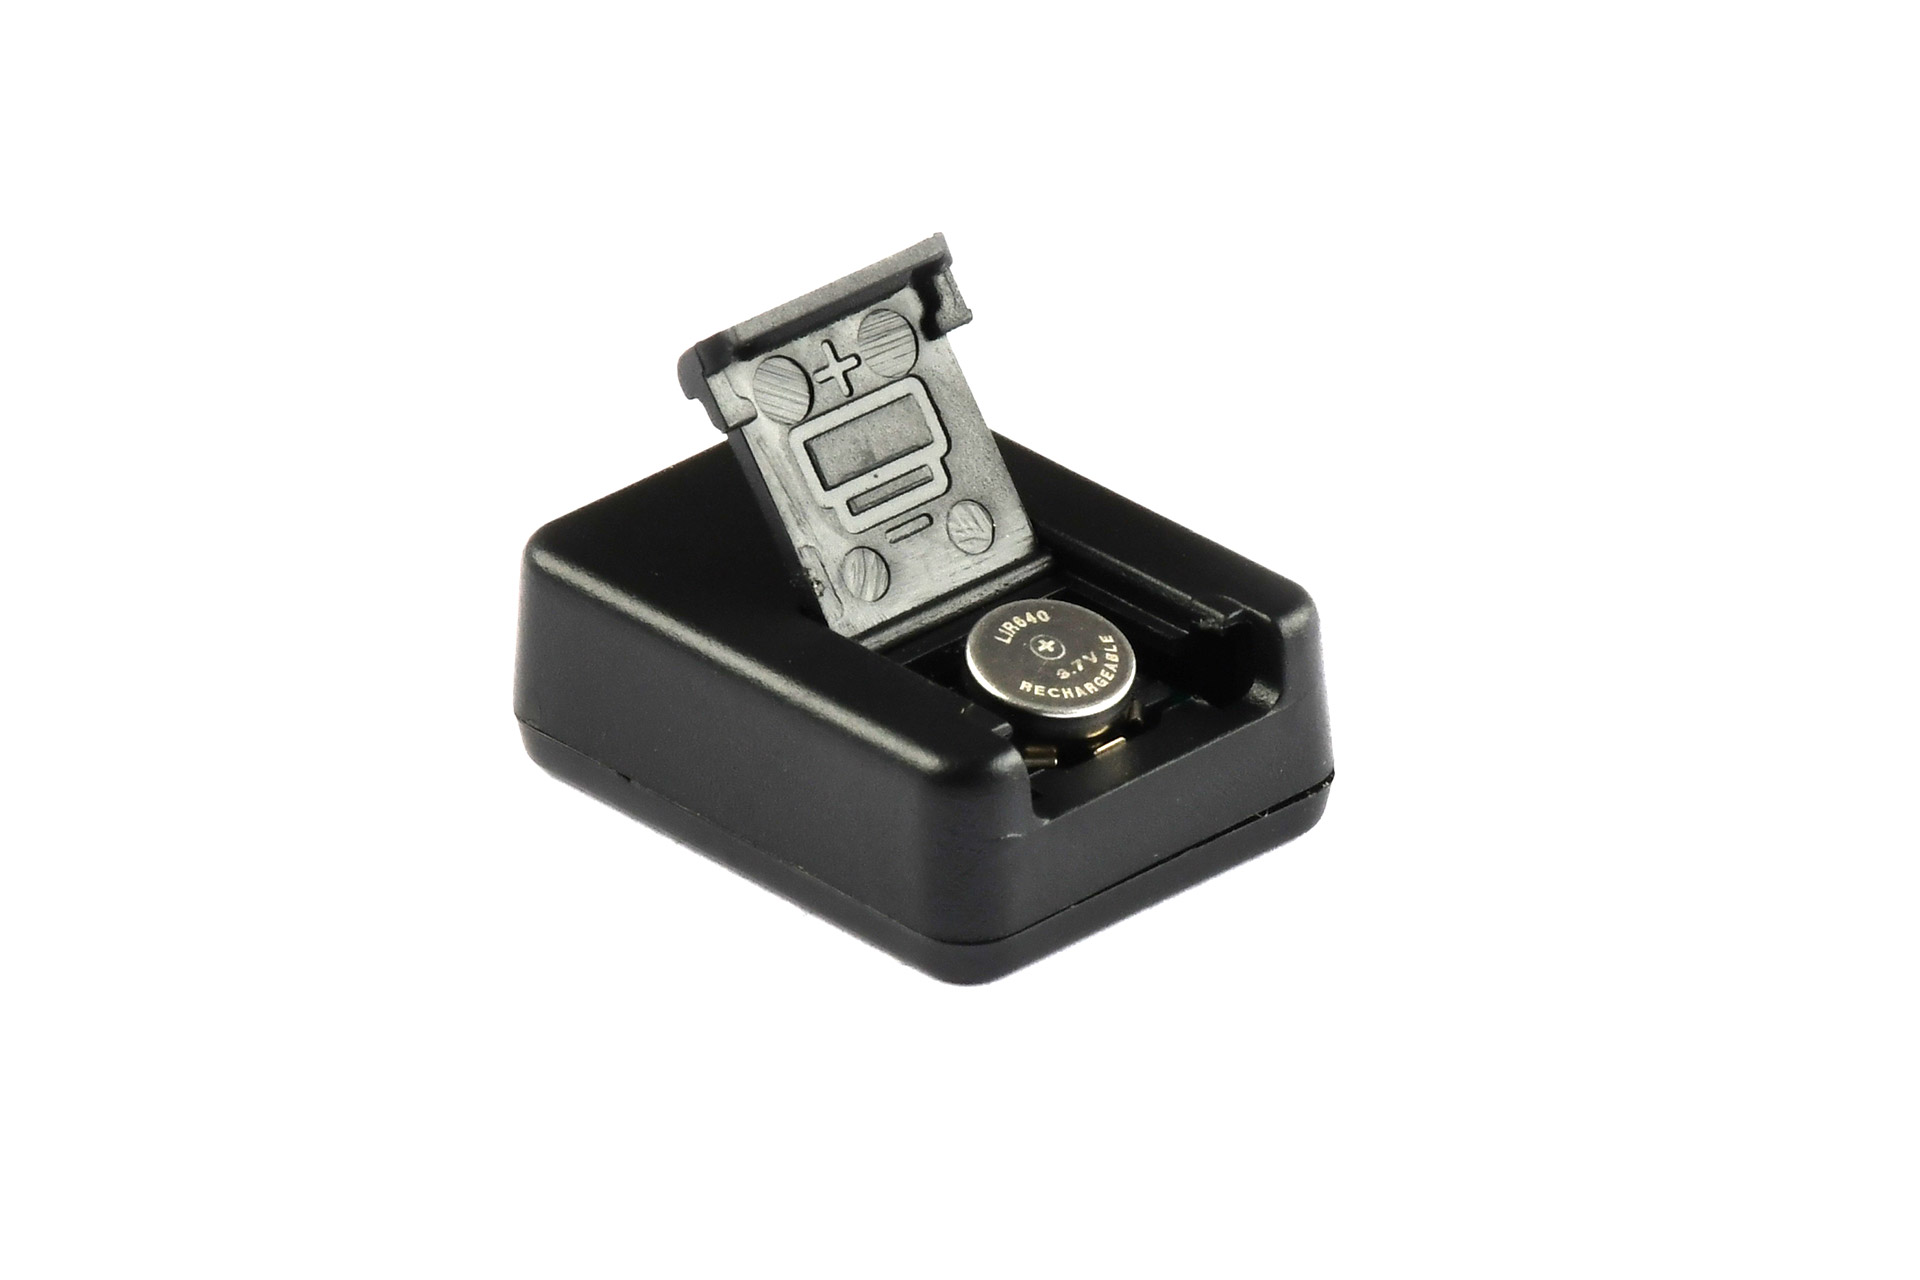
While the Charger is unplugged, Open the battery compartment on the Charger. Take care to orient the battery as indicated. The + should be facing up.
Periodic charging every 3 months is recommended if the batteries remain unused during those long periods.
7. Place the battery into the Charger
Place the battery into the Charger as shown. The + should face up.
Close the battery compartment with the battery inside.
Make sure to orient the battery properly otherwise it will not charge.
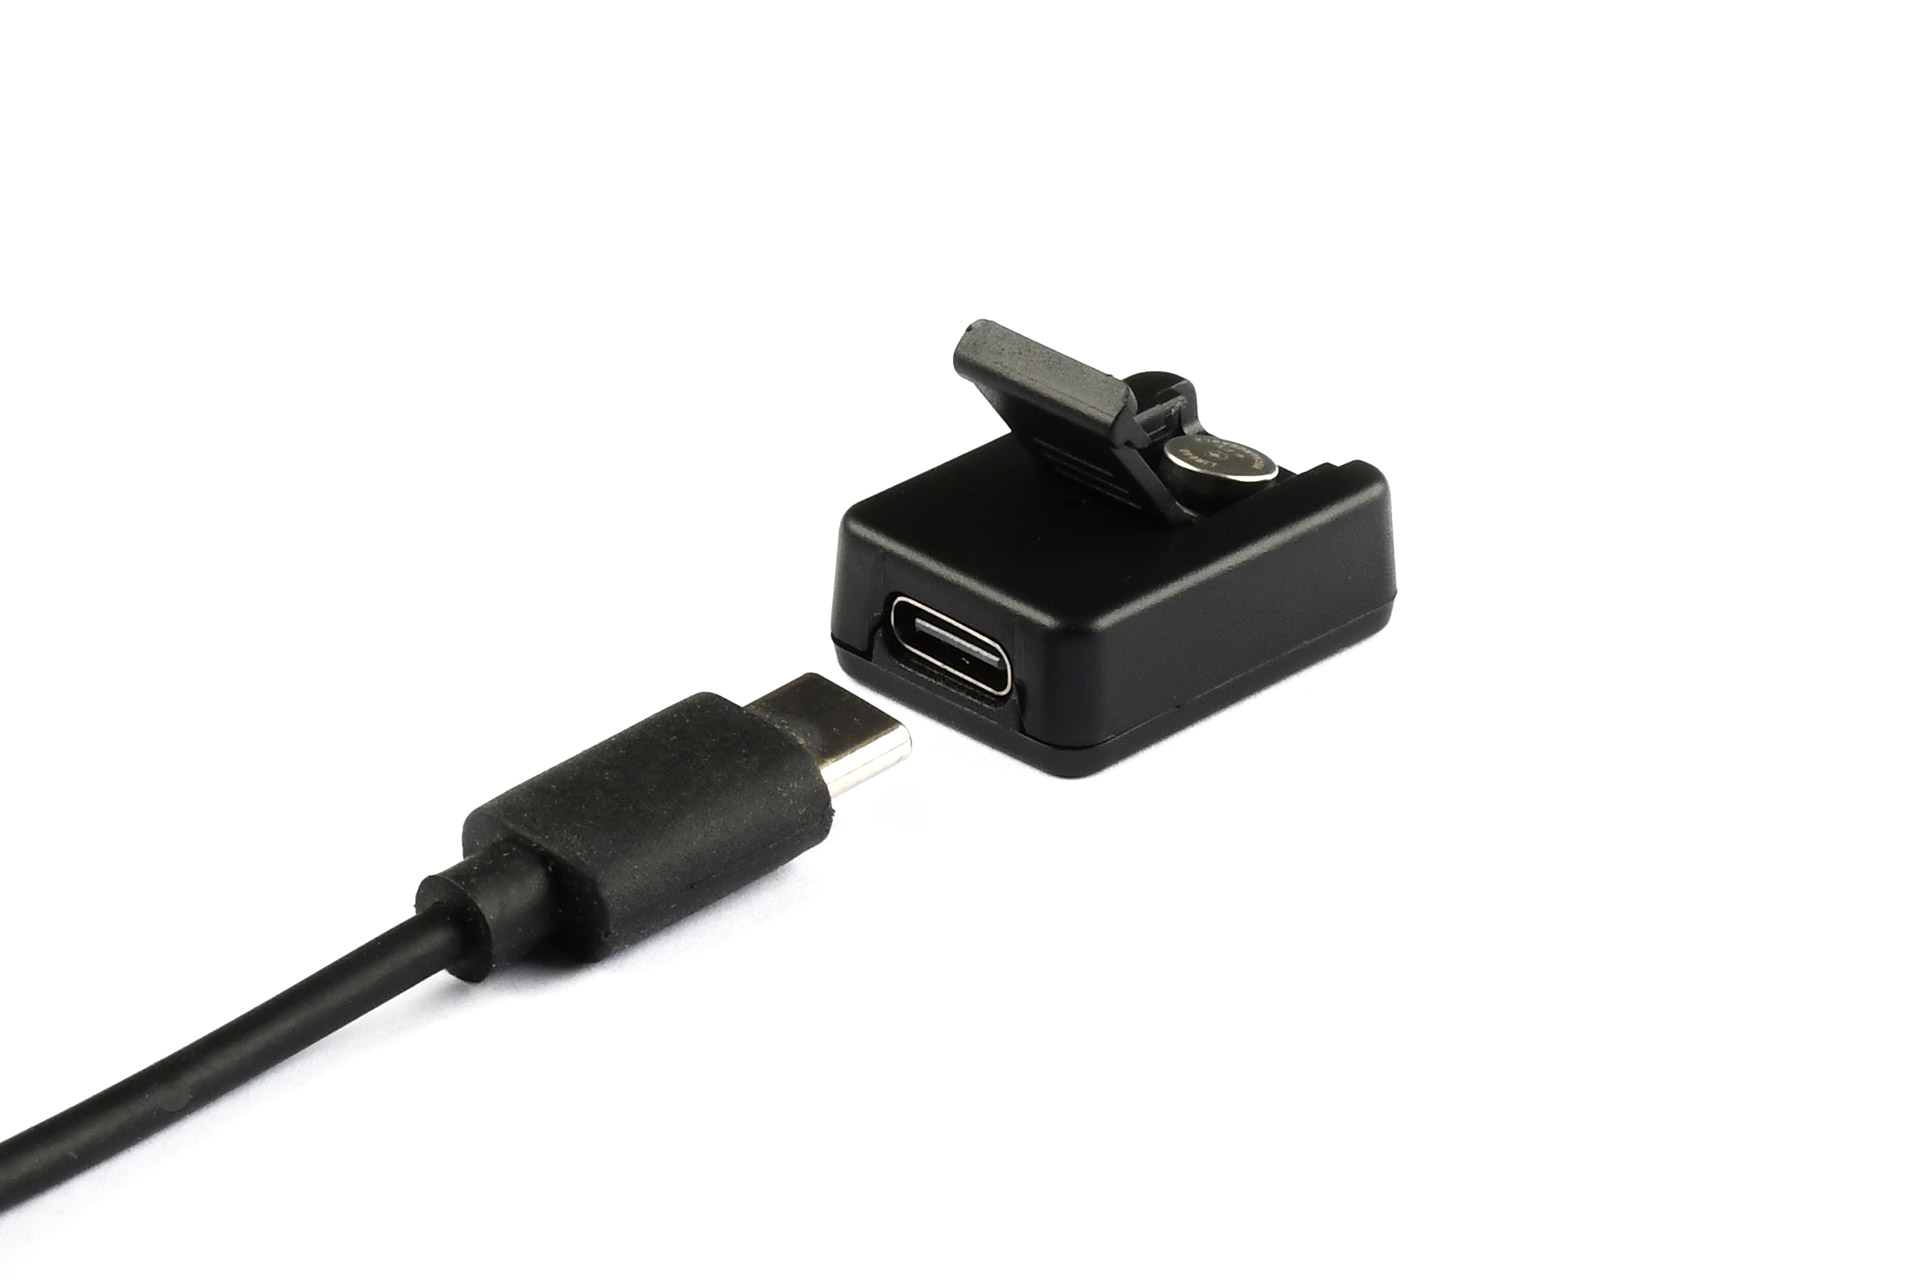
8. Charging
Plug the USB-C Cable into the Charger. The blue light will turn-on indicating it’s charging. When full the blue light will turn-off.
Make sure to orient the battery properly. The blue light will still turn-on, but it will not turn-off if the battery is incorrecly fitted and will not charge-up.
9. Microphone Charging
After use ensure the Microphone is charged-up. Plug the USB-C Cable into the Microphone.
The red light will turn-on. When fully charged the red light will turn-off.

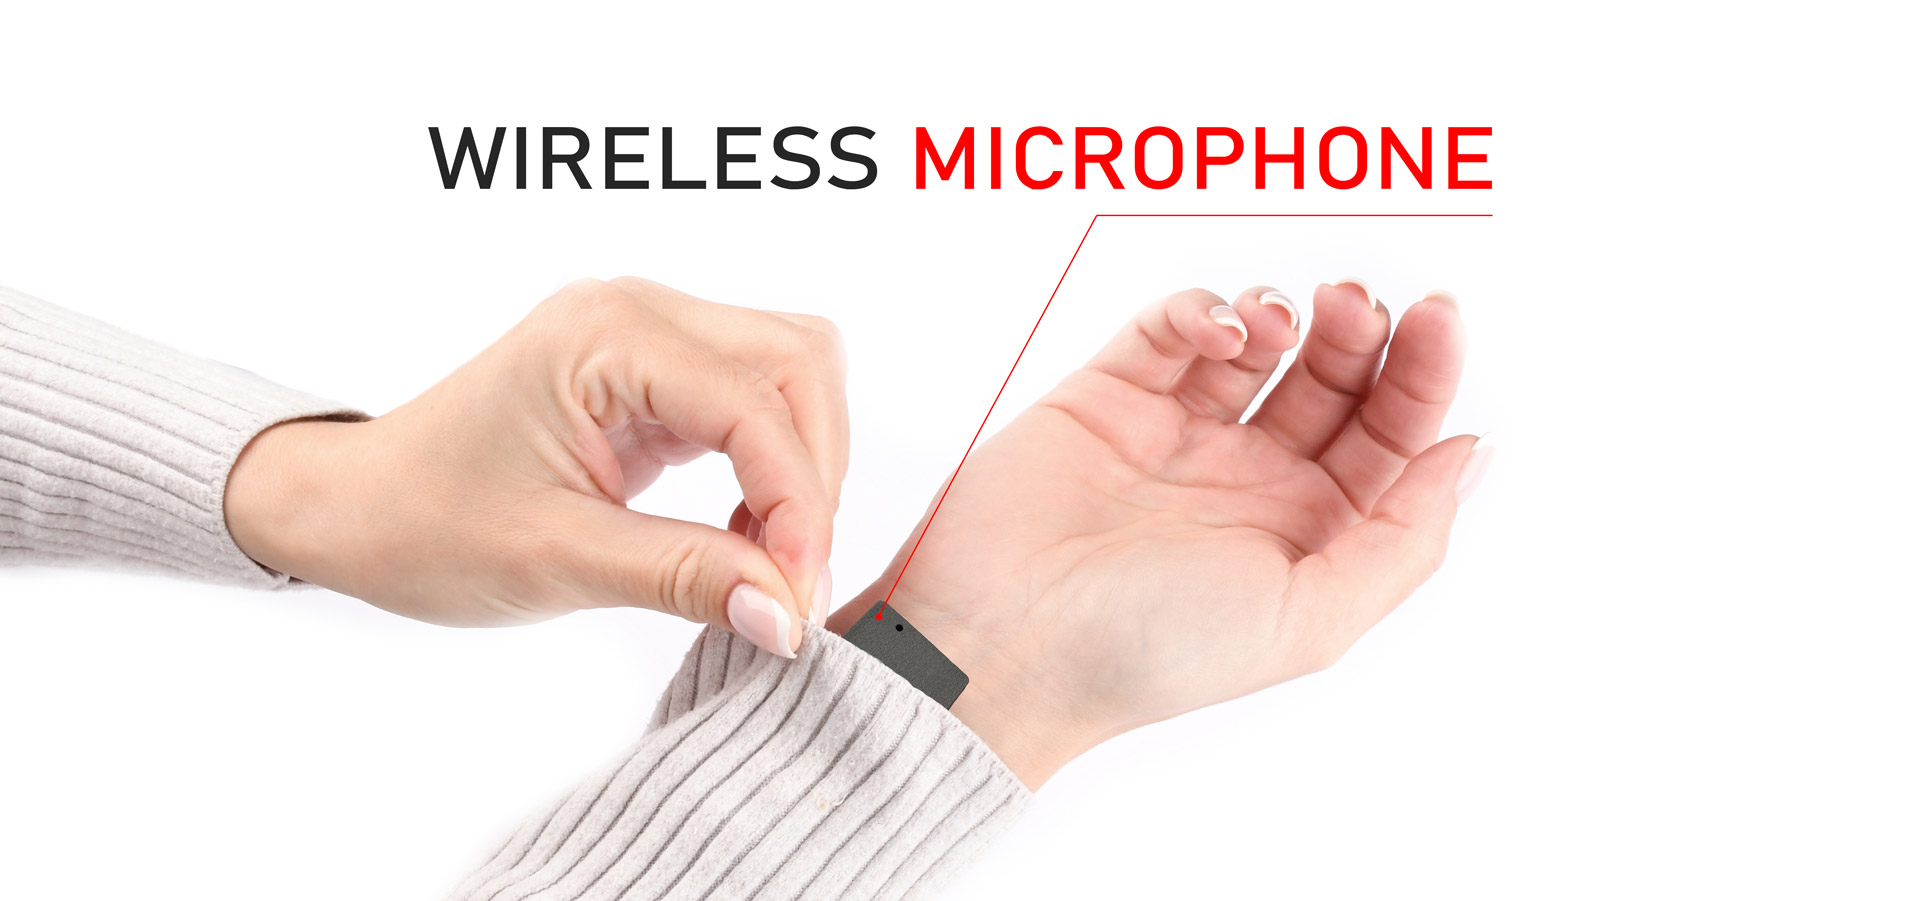
10. Cover the Microphone
Attach the Microphone with the Velcro strap were it’s most convenient. You can cover it up under the sleeve or shirt.